
Android is one of the most popular operating systems since the end of the Symbian era. An open-source operating system that is supported by an attractive display and allows users to choose free or paid applications are available abundant in the Playstore android. This encourages developers to compete in building their best products for the convenience and satisfaction of users.
The developers who build the Android app products will compete to get high ratings and positive reviews from Android users. The higher the number of downloaders, ratings, and a positive view of an app from the developer it will be a great advantage for developers.
Along with the competition of programmers and developers of android then many emerging software android application makers that offer features that qualified in support of programmers and developers in building their applications. Some supporting software such as android studio, eclipse, and others is a choice for application developers from beginner to professional level. The problem is that most of these android application software makers require high-end computer specifications from the processor and RAM side, causing the beginner to think twice to install the application on their computer with a low specification. But don’t worry, one solution to overcome this is to make android app using MIT App Inventor 2.
MIT App Inventor 2 is an open source web-based application originally developed by Google and is currently managed by the Massachusetts Institute of Technology (MIT).
MIT App Inventor offers ease of making Android apps (APK) instead of using C, C +, C # or other programming languages as usual, but through the puzzle view so that beginners can build a puzzle application per puzzle to create a standalone Android app for installing on the smartphone.
Advantages of App Inventor :
• Not using coding/programming languages as usual
• Use a drag and drop system like a puzzle
• Easy • Does not require installation because it is web-based
• Features that are complete enough for beginners
Lack of App Inventor :
• There are still some incomplete components
• Requires internet connection
Are you interested to try? Check out their website here http://ai2.appinventor.mit.edu

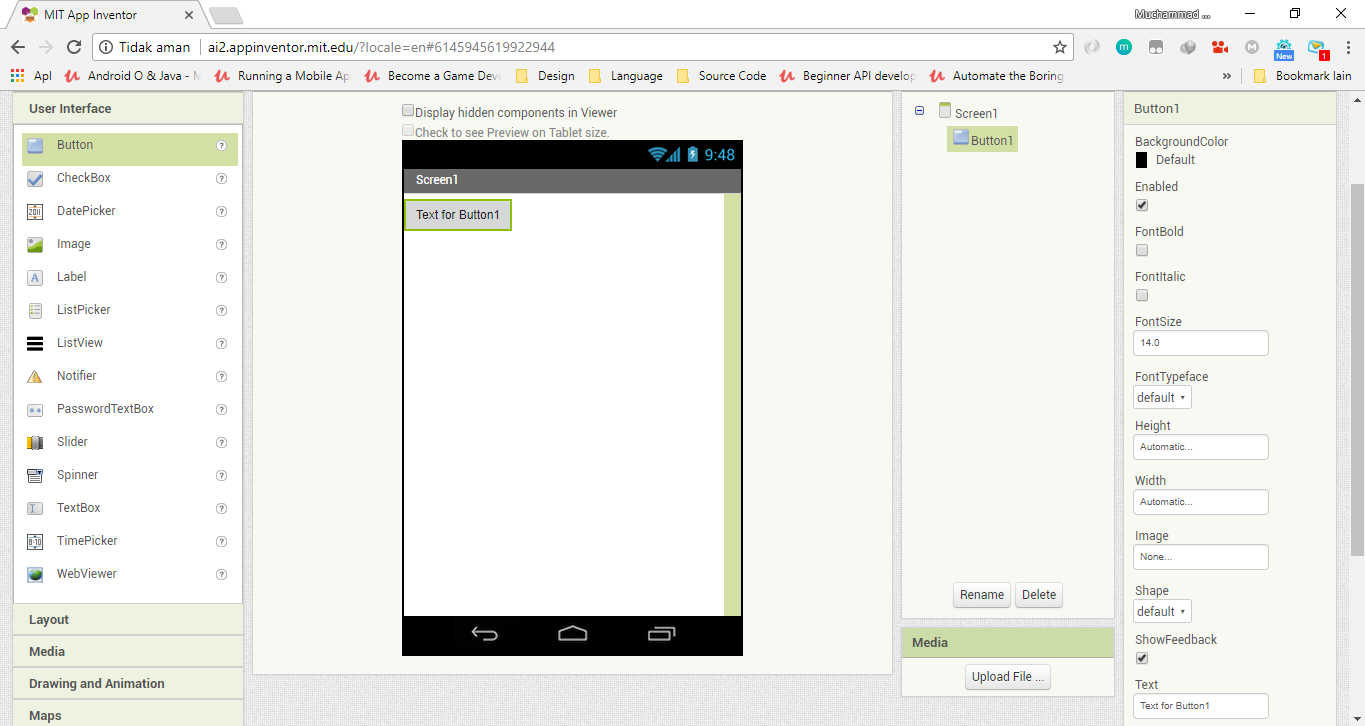
We can login to MIT App Inventor site http://ai2.appinventor.mit.edu using google’s account that we have. Initial view from a new project like in the picture above. This view is an app display for Android that we will make. The left is various components that can be installed in face view. On the middle side is the view which will be seen by the user. On the left side is the various parameters which we can set the components that we install.
If we try to drag the button component (button) it will look like the picture above. On the display, there will be a button image. We can change the image of the button with the picture extension such as JPG. Some components like audio player will not show up in the preview. It can not be viewed by the user. It’s like in the picture below.
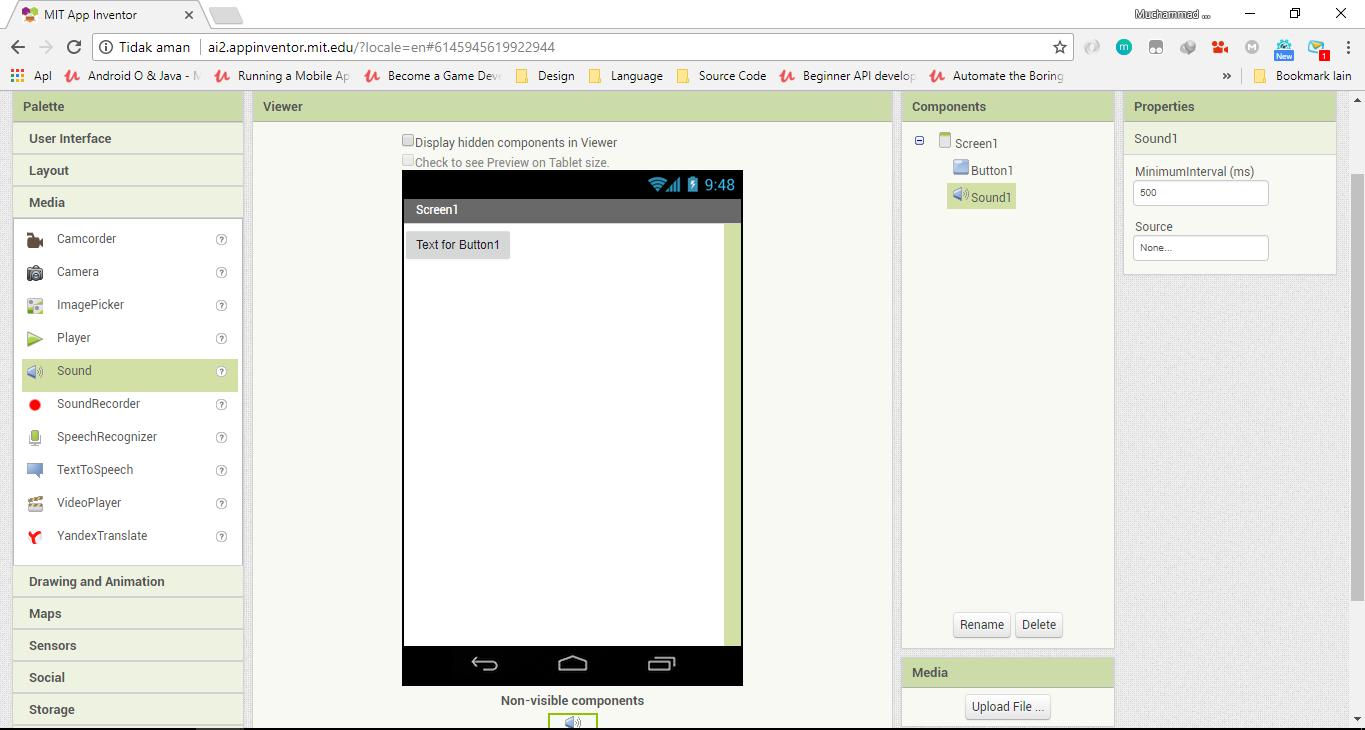
Below of button’s component, there is a sound1 component. We need to set it in the Properties section. WAV sound or MP3s that are attached to the component sound1 so that can play the sound that will come out.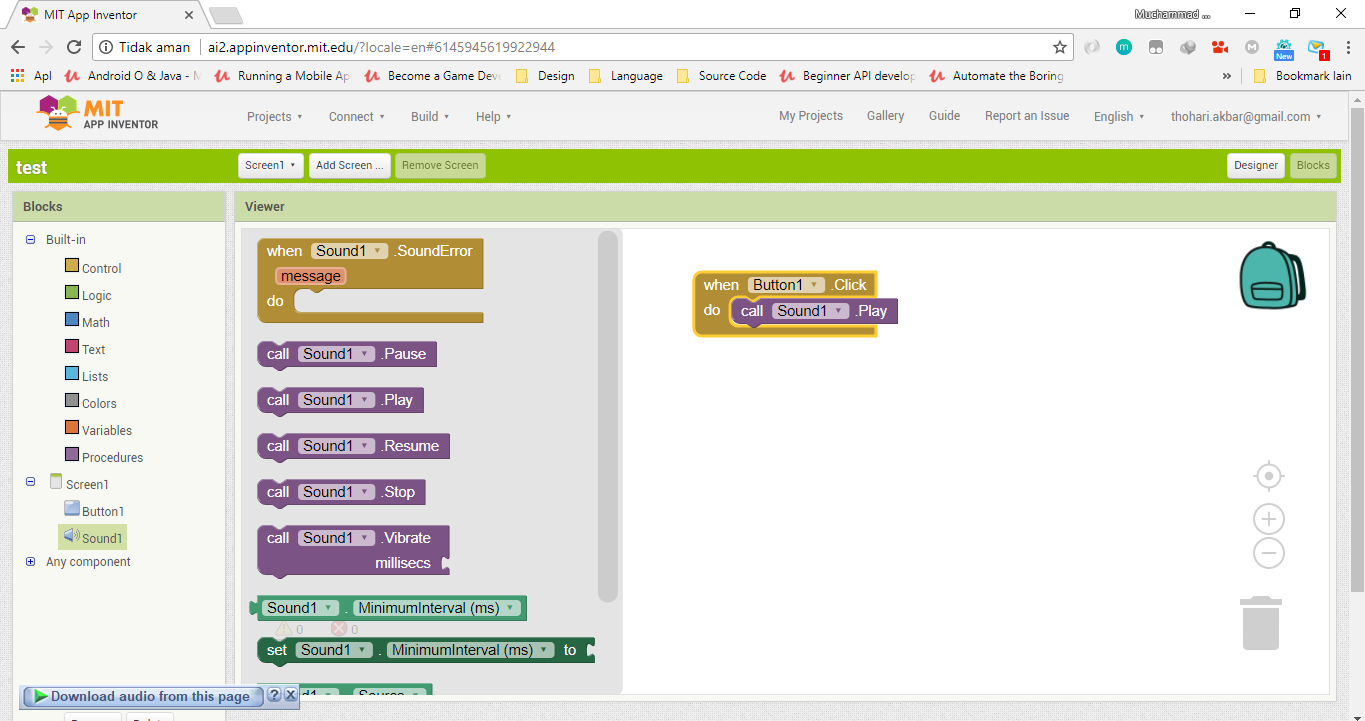
After we have been finished to set the display, the next step is putting various components on the display to work properly. This is usually referred to as programming. The menu for “programming” can be accessed with how to click “Blocks” button next to it top right. Display menu programming as in the picture above. We can click on our component that we want. Then choose what should do for the component.
On the example of programming above, the summary is,
- when botton1 .click
- do Call sound1 play
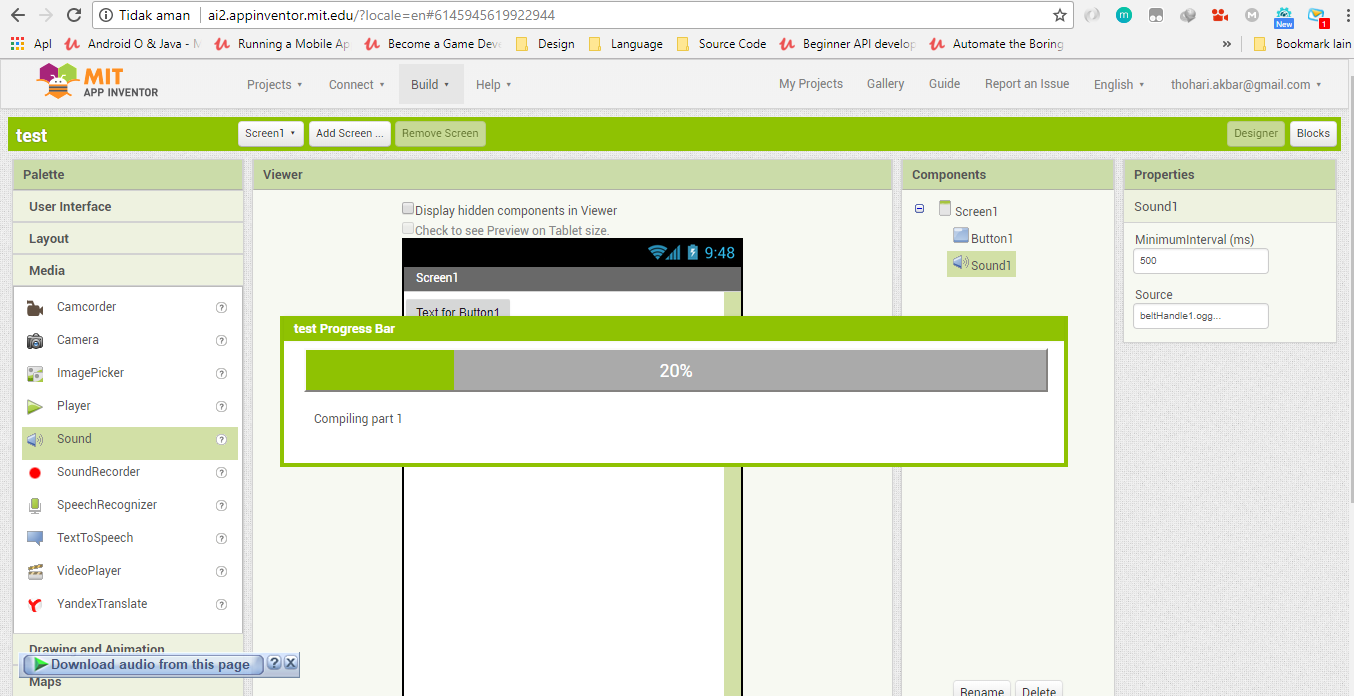
That’s all, so if the button on the pressed then the sound will be in play. After we have been finished the programming. We can save the apk program that we created on our computer through the Build menu> App> Save .apk on the computer.
Now to run an APK, we can save and install it on your android smartphone to run. Congratulations, you’re android developer for right now 😊